Bathrooms with alcoves are pure luxury as they give you a secluded place to bathe and relax! But when it comes to installing a freestanding bath on a platform, you have to be very specific about the choice because of the limited space.
Can you install a freestanding tub in alcove? Yes, you can install a freestanding bathtub in an alcove. However, only a few types of freestanding tubs, including pedestal, Japanese Soaker, and single/double slipper fit well in an alcove. Clawfoot and freestanding tubs with pegs don’t fit properly in alcoves.

Now you know that a freestanding tub is installable in an alcove. But how to install one? In this article, I’ve covered a complete guide to installing your freestanding tub in an alcove.
Follow the steps, and get the tub fitted neatly without any damages.
How to Install a Freestanding Tub in Alcove: Step-by-step Instructions
When I was installing my tub in an alcove, I didn’t have a guide like this, so there were a lot of problems during the installation.
Make sure to read the steps thoroughly and execute them in the right order for a hassle-free installation process.
Step 1: Gather all Tools in One Place
Running here and there to get the tools can be a real mess when you are installing a tub in an alcove. It would be great to have all tools handy, so you can quickly get the one required at the moment.
Place an old sack on the floor, and put the following tools and items in it:
- Shims
- A Water Bubble Leveler
- Silicone or Caulk
- Drain Connectors (that you got with the bathtub)
- Plumber’s Tape
- Slip Fittings
- Tubing Cutter
- Drill and Screws
Step 2: Put Shims and Screw Them to the Floor
Even if you have a perfectly leveled alcove floor, it would be great to install shims to balance the tub. Place the freestanding bathtub in the alcove, and use the water bubble leveler to check the level.
If the level is perfect, you can proceed with the next step. Else, you need to install shims on the floor. Put the plastic shims under the tub, and level it again with the water bubble scale.
Once you have achieved the right level, screw the shims to the floor so that they stay securely in place. If required, put some silicone around the shims to prevent them from moving when you install the bathtub.
Step 3: Connect the Tub’s Drain with the P-trap and Main Drain
Now it is time to connect the tub’s drain with the P-trap. Place the bathtub sideways and near the main drain. Connect the tub’s drain fitting with the P-trap, and secure it with the main drain using plumber’s tape.
Make sure not to move the bathtub a lot, else the plastic drain connection might get loose. Most freestanding tubs these days come with a flexible plastic drain line that stretches for easy installation.
Step 4: Leak-proof the Drain Assembly Using Plumber’s Tape and Silicone
Before you fix the bathtub in place, it would be great to leak-proof the connections. Apply a lot of plumber’s tape over the drain and bathtub connection, and add some silicone as well.
Let the silicone sealant dry properly before you put the drain connection under the floor and place the bathtub over it.
When I was installing the bathtub, I did a leak test to be sure beforehand. Once the silicone dries, place the bathtub in place, and fill it with a few gallons of water.
Now monitor the drain, and see if the water is seeping through it. It might not be noticeable in some bathtubs like the cast iron ones, so mix a color dye in water and then keep an eye on the water level.
Open the drain plug, and let the water seep inside the drain. Now lift the tub, and look for any spills around the main drain line. If you see water, the connection isn’t leak-proof.
Make it leak-proof again, and then proceed with the next step.
Note: Apply the tape the right way so that it establishes a grip over the connection. Watch the below video on applying Teflon tape properly.
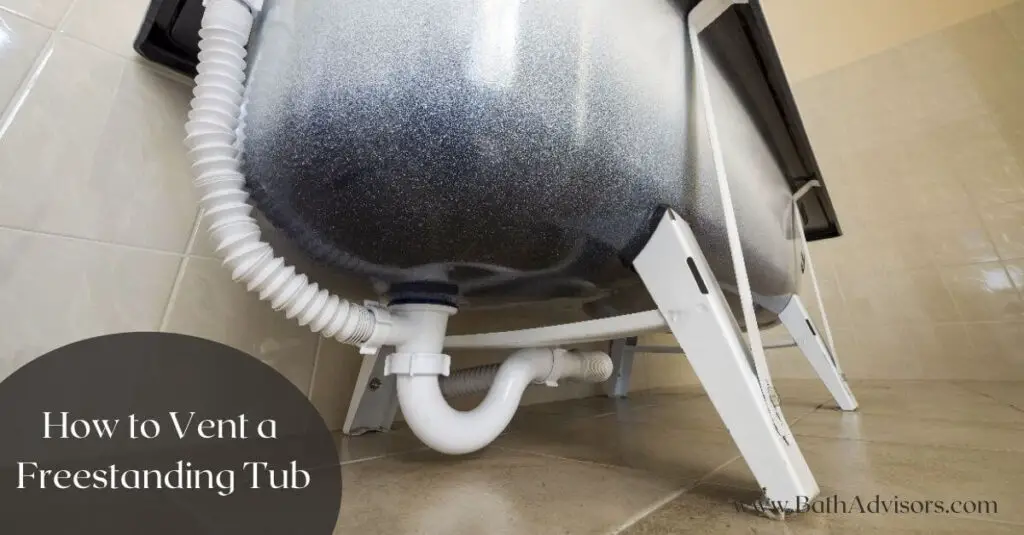
Step 5: Place the Tub over the Floor and Connect the Overflow Drain
The next step requires you to position the bathtub over the shims and measure the level again. Once done, begin with installing the overflow drain.
Usually, alcoves have an overflow drain line concealed inside the wall. Connect the bathtub’s overflow drain tube with the drain line using slip fittings. Finally, secure the connection using Teflon or plumber’s tape.
Step 6: Seal the Tub’s Base Using Caulk or Silicone
Now the bathtub is all set and ready for the final step. Placing caulk or silicone around and under the bathtub’s base will help it keep secure, and the tub won’t move when you fill it to the brim.
Apply the sealant precisely so that it settles down in the small gap between the tub’s base and the subfloor. Let the sealant dry, and you have your freestanding bathtub installed in the alcove.
Step 7: Clean-up and Enjoy a Bath
The last step is cleaning up the mess. Put all the tools aside, and clean the excess silicone and caulk using a scrapper. Be gentle so that you don’t end up scratching or damaging the bathtub.
Once done, fill the bathtub, and you can enjoy an amazing bath.
Tips to Keep in Mind When Installing a Freestanding Tub in an Alcove
Installing a tub in an alcove comes with a lot of challenges since you have limited space, and banging the tub into the walls can get it damaged.
Here are some tips that will help you install the tub safely, and you can do it without experiencing any major problems.
1. Always Measure the Alcove
One thing that most homeowners usually do is measure their alcove before ordering a bathtub. But some people tend to forget this or order a bathtub based on rough size.
It is important to measure the alcove properly for its width and length to fit the bathtub. Remember, you cannot trim the bathtub, and a longer one will never fit in an alcove.
On the other hand, a shorter bathtub will not offer sufficient bathing space and will look tiny in a big alcove.
2. Use Foam to Protect the Tub from Scratches
Installing a freestanding bathtub in an alcove requires you to lift the tub multiple times, and you even have to keep it sideways when connecting the drain. In all the hassle, the tub material can get scratches, especially if you have a ceramic or tile bathtub.
Place a piece of foam or a coaster under the bathtub to protect it from any damages.
3. Install the Freestanding Tub Filler Beforehand
There is limited space in an alcove, so it makes more sense to install the freestanding tub filler before installing the tub. This way, you can get an idea of the space available for the tub, as you cannot put the freestanding filler after securing the bathtub.
However, you can install the faucet after installing the bathtub if you are going for the traditional wall-mounted tub fillers.
4. Get the Alcove Around the Tub Ready
Banging the bathtub into the alcove can lead to small cracks and damages. In order to prevent this from happening, place small pieces of foam around the alcove.
Or what you can do is stick these foam pieces to the bathtub so that the foam acts as a cushion when you push the tub inside the alcove. The sides of the tub are more fragile than the base because of the thin brim.
FAQs
Q1: Can you Secure the Freestanding Tubs using a Tub Kit?
A1: No, you cannot secure a freestanding tub using a tub kit. Tub kits are specially designed for alcove tubs because these tubs have pre-drilled holes. The only way to secure a freestanding tub is by using silicone or caulk around the base.
Q2: Should I Tile around the Alcove before Installing the Bathtub?
A2: Well, you can tile around the alcove both before and after installing the bathtub. I installed tiles after installing the bathtub since it gives a better idea of how the tiles will look with the tub.
However, you have to be extra careful when putting tiles around the alcove after placing a tub in it.
If you are looking for ways to install a bathtub on tile, this article might help!
Q3: Alcove vs Freestanding Tub, Which is Better?
A3: A lot of homeowners get confused between freestanding and alcove tubs. The major difference between freestanding and alcove bathtubs is the installation.
You can install a freestanding tub anywhere in the bathroom including the alcove. While, you can only install an alcove bathtub in an alcove.
Q4: Can you put Mortar under the Tub for Leveling?
A4: Yes, you can put mortar under the tub for leveling, but I don’t recommend using it. The reason is once mortar gets hard, removing the tub becomes difficult.
Installing shims is an easier and quicker way to level the tub as compared to mortar.
Q5: After how long can I use the Bathtub after Installing it in the Alcove?
A5: You should wait for around 3-5 hours to let the silicone settle properly. Also, the drain connection needs some time to get properly sealed with the plumber’s tape and silicone.
If you live in an area with low temperatures, this time could be more since silicone takes more time to freeze in colder cities.
Final Thoughts
You can install a freestanding tub in the alcove, and this comprehensive guide will help you throughout the installation. Always start the process by preparing the area and placing foam around the bathtub to protect it from any damages or scratches.
Moreover, pay special attention to the main drain connection and the overflow drain because you cannot leave a scope for leakage.
Lastly, be careful when applying the silicone around the tub so that it settles down inside the creek and holds the bathtub with the subfloor.