If your shower head is not dispensing the right amount of water you need for a bath, then it is an early sign that it needs a replacement! Generally, shower arms get eroded with time, and as a result, the performance of the shower head touches the ground!
Just replacing the showerhead won’t help when there is something wrong with the shower arm. And the only way to battle this problem is by installing a new wall mounted shower arm with the showerhead!
With a little effort and with some quick tips, you can install the shower arm without any professional plumbing assistance.
We are here at your service with an ultimate guide on how to install a wall mounted shower arm!
What is a Shower Arm?
Before we help you with the shower arm installation tips, let us throw some light on what actually a shower arm is!
A shower arm is a cylindrical pipe fitting that connects your shower head with the water supply.
The arm can be of any size and shape based on the brand you are using! Shower arms are prone to corrosion as they are in direct contact with the water, so it is better to replace them at the earliest before the problem escalates into a more significant issue.
Types of Shower Arms
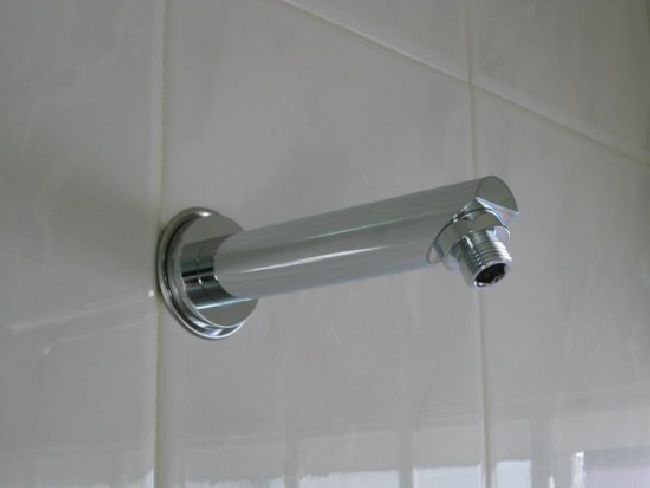
Image Credit: onlineshowerheads
When it comes to types of shower arms, you will find a multitude of options available in the market. Here are a few of them explained so that you can get the best type for your shower head.
1. Standard Shower Arms
A standard shower arm is what you commonly see installed in the bathrooms. This type of shower arm is simple to use and comes attached with an extension angle so that you can adjust the shower head at your convenience.
2. S-Shaped or Gooseneck Shower Arms
S-shaped or gooseneck shower arm is getting very popular among the people in the US because of the design and functionality. With a gooseneck shower arm, you can adjust the height of the showerhead. Also, your bathroom will look even attractive with this type of shower arm.
3. Straight Shower Arms
It becomes evident to guess this type of shower arm by its name! Straight shower arms have a straight rod that connects to the showerhead. These shower arms are perfect to use with rainfall showerheads.
How to Install a Wall Mounted Shower Arm?
We would recommend you to gather all the tools and equipment required for the installation beforehand so that you can install the shower arm easily. Here is the list of tools you need for the installation process.
1. Paper towels
2. Adjustable wrench
3. Plumber’s tape
4. Towels
These are the essential tools required for this flawless installation of the new shower arm. Make sure to get these items handy before you start with the installation.
Step-by-step Process on How to Install a Wall Mounted Shower Arm
Step 1: Find the Female Fitting
You should start the process by finding the female fitting. In order to find the female fitting, you need to locate the tub valve. Generally, the tub valve is located above the bathtub faucet just behind the wall.
Have you located the valve? Great! You will now be able to see a vertical water supply that runs through the wall. After the accomplishment of these steps, you should find an ideal spot where you want to attach the shower arm.
Mark the spot with a pencil so that it becomes easier for you to judge whether the spot is perfect or not! Now it is time to cut a hole through the drywall so that you can access the vertical supply line.
You will see a female fitting attached to the pipe, and that is what you need to install the new shower arm. While using the saw on the drywall, be extra cautious, and prevent the pipes from getting damaged.
Step 2: Secure the Shower Arm Using Plumbing Tape
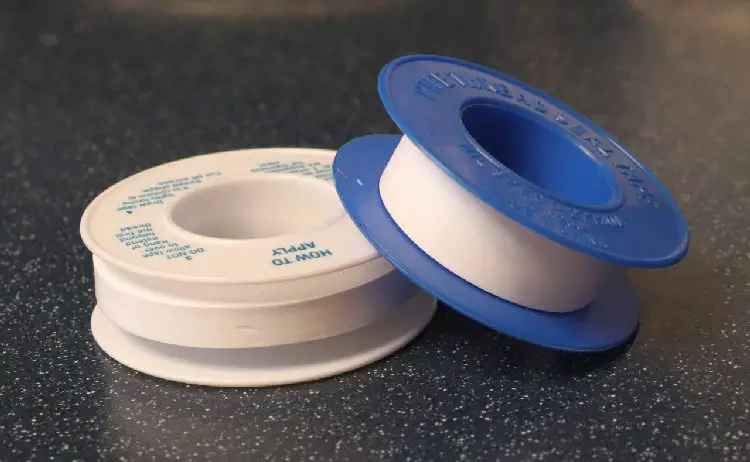
Image Credit: wikimedia
After making a hole in the drywall and after finding the female fitting, it is time to secure the shower arm. You can use a little bit of plumbing tape on both ends of the shower arm to make sure that it establishes a leak-proof connection with the water supply line and with the showerhead.
Also, plumbing tape will help you in securing the shower arm right in its place with the assurance that there will be no chances of leakage in the future.
Step 3: Attach the Shower Arm with the Female Fitting
This is the most crucial step of this procedure, and the whole assembly of the arm will depend on this step. So it would be best if you prepare yourself for it by taking a long breath.
Start with inserting the shower arm through the hole in the drywall. You have to connect the shower arm to the female fitting in order to make it work. Once you have attached the shower arm with the female fitting, make sure to tighten the connection as much as possible.
Now take out the wrench and tighten the connection to ensure that it is done correctly! We would suggest you use a rug or a piece of cloth before putting the wrench on the shower arm. It will help you in preventing any scratches on the shiny shower arm.
Step 4: Mount the Shower Head with the Arm
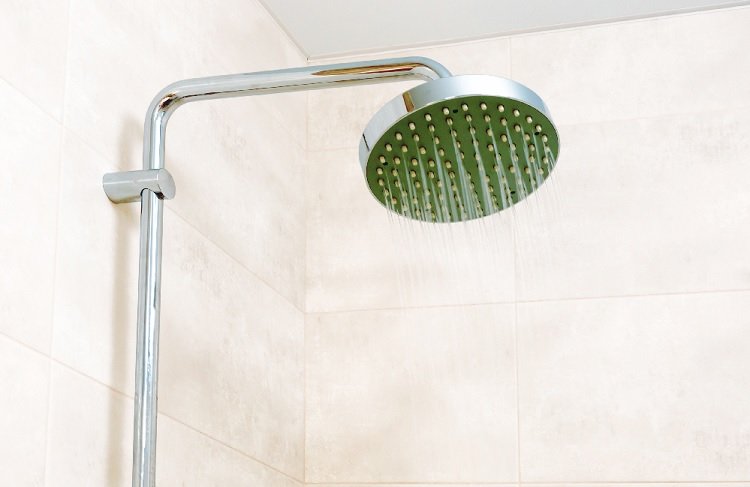
Now the shower arm is ready to accommodate a stylish showerhead. You can find a fantastic showerhead based on your needs and can connect it with the shower arm. There are a plethora of showerheads available in the market, including handheld, rainfall, led, dual showerheads!
Mounting the showerhead with the arm is a straightforward part, and you can do it on the go! To ensure that the showerhead is attached correctly, you should move it a little bit to check whether the showerhead is stable in different positions.
Step 5: Check the Installation Again
Before you run the water supply to test the newly installed shower arm, I would recommend you to recheck the installation. Check all the connections and make sure that the shower arm is attached correctly with the female fitting.
After checking all the connections, you can replenish the water supply to test the working of the new shower arm.
Do you see water coming from the female fitting? If yes, then tighten the connection a bit more, or you can remove the shower arm to use more plumber’s tape if required.
Tips on Replacing your Shower Arm
Installing a shower arm requires no rocket science at all, but preparing for this process is what you should definitely do! Here are some proven tips that can assist you while installing the shower arm.
Turn Off the Water Supply
It is quite obvious to turn off the water supply before installing a shower arm. But some people forget to turn it off in the excitement to reward their bathroom with a new look. Turning off the water supply will ensure that the water will not splash out of the female fitting during the installation.
Remove the Existing Shower Arm with Care
If the existing shower arm is faulty, then you should remove it before starting the installation process. Here is a quick method on how to remove a shower arm.
Turn off the water supply and then use a wrench to unscrew the shower arm. I would suggest you use the wrench carefully as the corroded arm can break while unscrewing.
Clean the female fitting before installing the new shower arm.
Prepare Your Surroundings
If you have some expensive showpiece items in your bathrooms or there is a chandelier installed on the roof, then you need to prepare your surroundings first. Use dry towels to cover the areas you think can get damaged in case the water oozes out with pressure.
Also, keep a dry towel handy to keep your hands dry during the installation process so that you can get a better grip over the equipment and tools.
Use a Shower Arm Extension if Required
If the shower arm is small in size, then you can buy a shower arm extension to use with it. With a shower arm extender, you can increase the length of the shower arm, and thus, the showerhead will reach the exact spot where you want it to be.
FAQs
Q1: How to find out which end of the Shower Arm connects to the Female Fitting?
You can easily find out which end is meant for the female fitting by checking the shape of the shower arm. There is a slight bend in every shower arm at the end where the showerhead connects. The end, which is meant for connecting to the female fitting, is straight, and you can connect it easily with the vertical water supply line after applying plumbing tape.
Q2: What to do if the Shower Arm leaks after Installation?
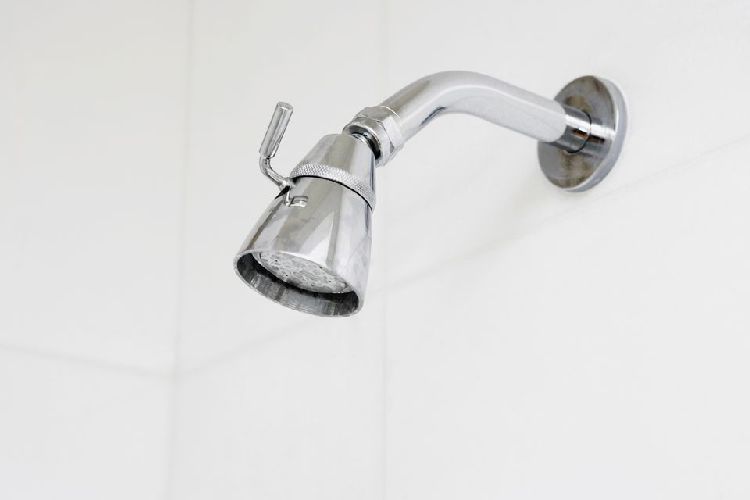
Image Credit: thespruce
If the shower arm is leaking after installation, then there is a chance that some connection is left un-tightened. Take a wrench and make sure that all the connections are tight. Also, you can use a little bit of more plumbing tape to ensure a leak-proof installation.
In case the leak still persists, then you should call an expert plumber to check what’s wrong with the shower arm.
Q3: Which type of Shower Arm should be perfect for a Stylish Bathroom?
A bathroom looks way more stylish with a classy shower head and a shower arm. If you are looking for a shower arm that can make your bathroom look elegant, then I will suggest you go with gooseneck shower arms.
These shower arms have an s-shaped neck that looks classy and can enhance the aesthetics of the bathroom. Also, you will get a lot of color options in gooseneck shower arms.
Final Thoughts
Installing a shower arm is not a tedious task as you think! After following this easy DIY guide on how to install a wall mounted shower arm, you can install a new shower arm in your bathroom. Moreover, make sure to follow the quick tips so that you can avoid creating a mess during installation.
It would be best if you buy a branded shower arm as these last longer and are less prone to catching corrosion.
In case you are looking for some tips to remove rust from your shower caddy, check out this guide!
Let us know if you have any questions in the comments section below.


