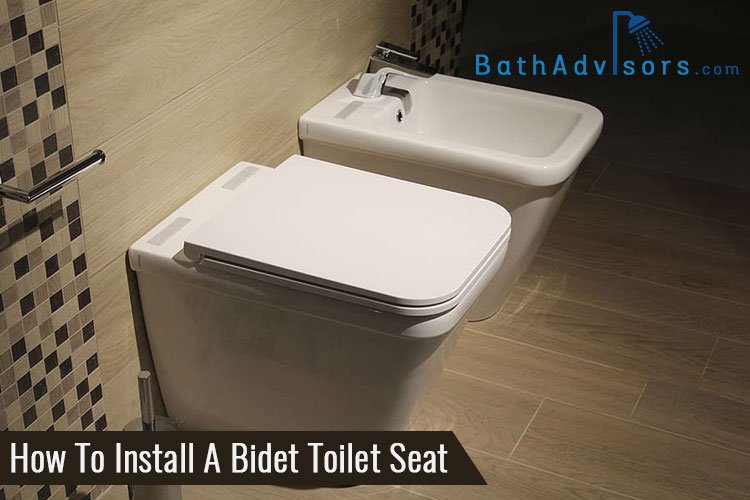
In this era of DIY (Do It Yourself) tasks, there is almost nothing that you cannot do at your home. And now it even includes installing a bidet toilet seat.
Yes, you read that, right!
Just by following a simple 7-step DIY process, you can now install a bidet seat on your existing toilet. Not only it will make your bathroom more functional, but you can also enjoy some fantastic features without calling a professional plumbing guy. Also, following this DIY guide will help you in saving the bidet installation cost.
Here is a guide on how to install a bidet toilet seat in your bathroom.
What is a Bidet Toilet Seat?
Before we head towards the process to install a bidet seat, you must know what actually a bidet toilet seat is. Bidet toilet seats have made things more convenient for people around the world that have small bathrooms and have no extra space to install a bidet.
You can install a bidet toilet seat on your existing toilet by replacing the old seat. After installing the bidet seat, you will get a fully functional bidet that you can use to spray or clean while sitting on the toilet. Modern bidet seats have advanced features like a heated seat and some other controllable features that make things even convenient in harsh weather.
Types of Bidet
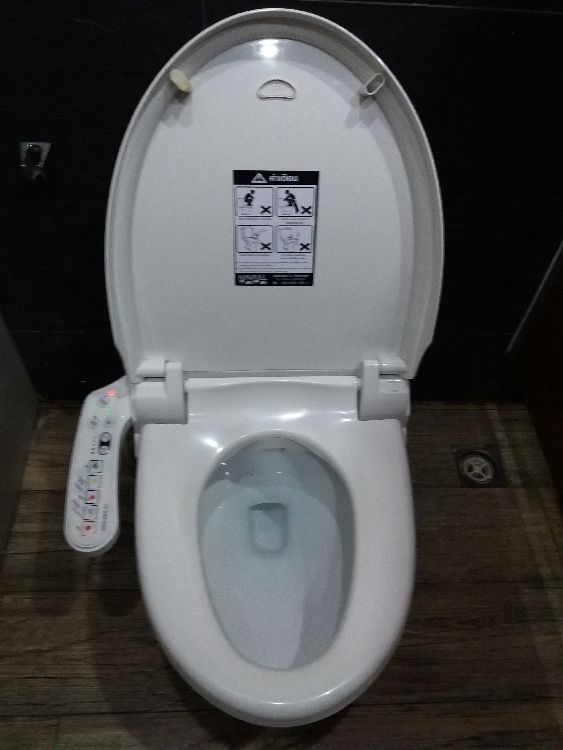
Generally, there are three types of bidet toilet seats available in the market. The first one is sprayer attached to the toilet seat, and you have to install this type of bidets by replacing the existing toilet seat.
The second type of bidet is used to attach underside to the toilet as it comes with a plate, and you can install it easily by following the instruction manual.
The last type is the bidet sprayers, which are just like handheld sprayers. These bidets are ideal for users who don’t want to replace the existing toilet seat.
Bidet Toilet Seat FAQs
Q1: Do Bidet Toilet Seats Need Electricity?
It depends on the type of bidet seat you are using. If you are buying one with heating functions, then you need electricity to run these features. Bidet toilet seats are compatible with the regular electricity ports, i.e., 120V. However, it would be great if you use a GFCI outlet for it.
Q2: Is It Hygienically Safe to use Bidet Toilet Seats?
Absolutely yes, using a bidet seat is hygienically safe in every way. All the mess flushes into the bowl, so there is nothing left that can make you feel unhygienic.
Q3: Is There any Need for Professional Plumber?
You can easily install a modern bidet toilet system on your own without any professional plumbing help. In case there are some unstoppable leaks, then we advise you to call a professional plumber to look into the matter.
How To Install A Bidet Toilet Seat : The DIY Process
Here is a straightforward 7-step process to install a bidet toilet seat with your existing toilet. Follow these steps one by one to accomplish the installation without any hassles.
1. Select the Type of Bidet System
You can start by selecting the ideal type of bidet system for your bathroom. There are three types of bidet toilet seats to choose from i.e., sprayer with a toilet seat, handheld wand sprayer bidet, and the bidet that connects to the underside of the toilet. These days bidets are available at reasonable prices, and you can easily afford one for your bathroom.
2. Cut Off the Water Supply
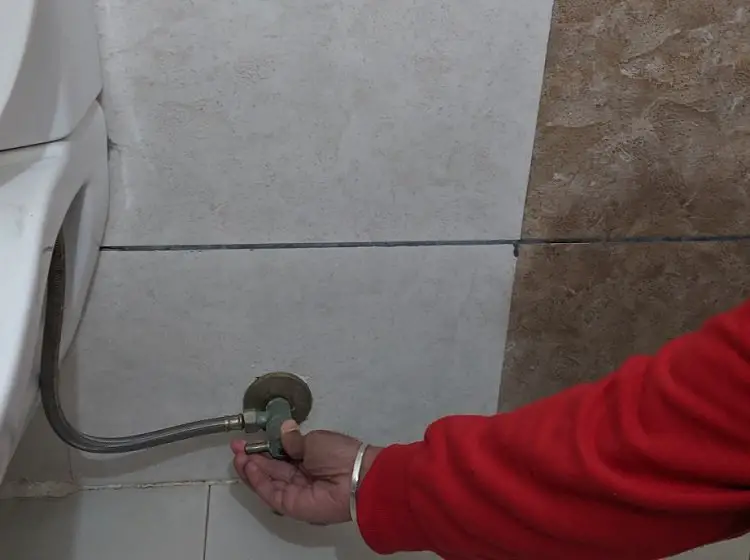
So you have selected the type of bidet system for your bathroom? Great! Now it is the time to cut off the water supply before your bathroom starts overflowing! You can locate the main water supply to turn off the water supply.
Are you still not able to find the main valve? You can turn off the street valve as well!
Now flush the water in the tank before starting the installation process.
3. Detach the Existing Seat
Now you have to detach the existing toilet seat so that you can install the brand new bidet system on the toilet. Locate the screws of the current toilet seat and start unscrewing them. Generally, the screws are located beneath the plastic tab. You can unscrew them with your hands as they are huge in size.
So finally, you have removed the existing seat? Give yourself a pat on your back!
Now take a piece of old cloth and start cleaning the area to make sure that the new bidet seat installs quickly and hassle-free.
A Pro Tip: If your existing toilet seat has no screws at all, then you need a top mount system to install the bidet toilet seat.
4. Place the Mounting Plate
After removing the existing toilet seat, it is time to install the new one. You can install the mounting plate so that the screw assembly rests precisely on the holes from where you have unscrewed the existing toilet seat.
Before screwing the mounting plate, check whether everything looks fine and is in symmetry with the toilet. Now you can screw the bidet mounting plate securely in place before following the next step.
5. Install the Bidet Seat
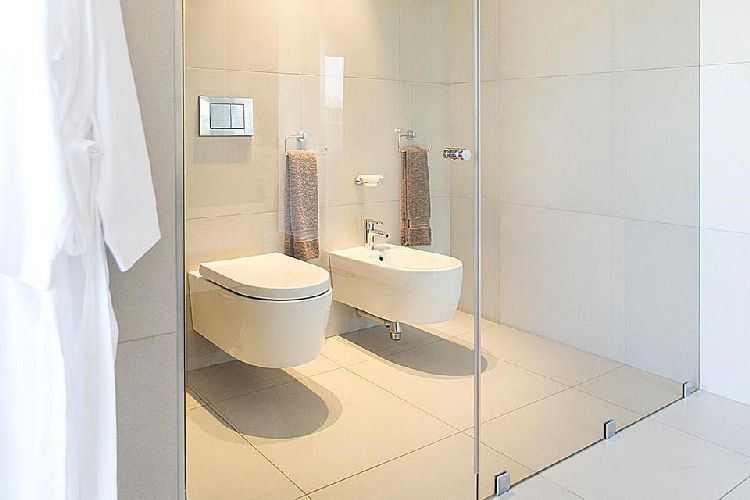
Image Credit: thespruce
Once you have screwed the mounting plate, you are ready to install the bidet system. All you have to do is attach the bidet system with the mounting plate so that it rests entirely on the plate holes. You will hear a slight click sound after successfully connecting the bidet system on the mounting plate.
The best way to confirm appropriate bidet toilet seat installation is by sitting on the toilet seat to ensure that everything is inline and perfect as per the plan.
6. Connect the Water Supply
You might be able to see the flexible water hose beside the toilet. You have to disconnect the hose from the toilet unit in order to attach it to the new bidet system. Unscrewing the main valve is not required for this step.
If there is a slight leakage then don’t panic, it happens in this process! After connecting the water supply with the bidet, the leakage will stop automatically.
If the leakage is still there, then shut off the main valve and tighten the connection again.
7. Attach the Bidet Valve
In the last step, you have to install the bidet t-valve near the toilet’s tank. The t-valve comes with the central unit, and you will find it in the box. After successfully installing the t-valve, connect the flexible hose with the valve, and recheck all connections.
Before you replenish the water supply, we recommend you to recheck the whole installation again to ensure that there are no possibilities of any leakage.
Test It Out
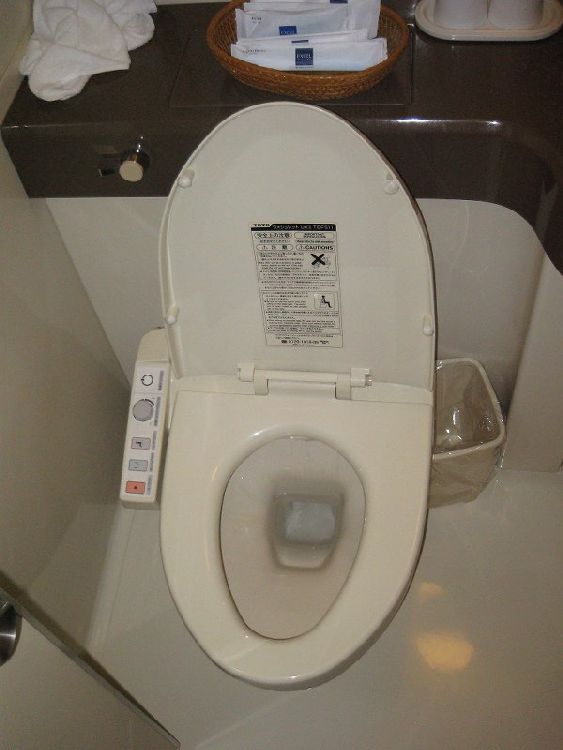
Congratulations, you have installed the new bidet toilet seat correctly, and now it is your turn to test it out. We recommend you to use plumber’s tape during the installation to avoid leakage issues in the near future. Also, read this guide on how to install a bidet toilet seat again if you are having some issues during the installation.
If you have purchased a bidet seat with advanced features, then make sure that all the elements are working appropriately.
Moreover, use a towel or some dry tissues to avoid spilling water in the bathroom at the time of testing the bidet system. Some modern bidet toilet seats have built-in sensors, and the seat only works after detecting some pressure caused due to seating.
Try sitting on the new seat, and experience ultimate ease with the existing toilet in your bathroom.


