Freestanding bathtubs are no doubt a luxurious way of having a spa-like bath at home. They also instantly make a bold decor statement in every bathroom. In recent years, freestanding bathtubs have really grown in popularity, because of their availability in different styles, designs, materials, and sizes.

According to a recent study done by Houzz, out of 1200 surveyed American homeowners, nearly half of those upgrading their bathtubs chose freestanding tubs to the clawfoot and flat-bottom.
It is for this reason that today we will look at how to install a freestanding bathtub to guide you and everyone else looking to upgrade.
How to Install a Freestanding Bathtub
Installing a standalone bathtub can turn out disastrous and costly if you are not keen on the installation process. Take a pen and paper if need be just so you don’t miss any point.
To start off your little project, assemble everything you will need. Check that you have everything needed including the accessories for the tub. Go through the manual and tick off the ancillary items that came with your bathtub as you check if they are in great condition. If any item is missing, this is the time to talk to your seller so that they send it over. If any item came damaged, also talk to your seller.
With every item in check, we can now assemble other items you will require for the installation.
Things You Will Need
- A new freestanding bathtub plus accessories
- Caulk
- Damp cloth
- Blanket
- Silicon
- Plumber’s putty
- Cleaning items
- Level
Installing a Freestanding Bathtub
Installing a freestanding tub is not as complicated as many assume. As long as you are careful and follow the steps keenly, you should install freestanding bathtub with minimal difficulties.
Step 1 – Choose where to Install the Tub
Before anything else, you need to figure out where to install your freestanding tub. There are different places you can opt to have it installed, the center of your bathroom, corner, or even by the window-side if you fancy to bath under the sun rays.
Step 2 – Prepare the Floor
Start by preparing the floor spot where you intend to place your tub. Clear out anything that may be on the way. Depending on the state of your floor and the amount of demo work needed this may take more than a day. Ensure that the floor is totally clean and ready for installation.
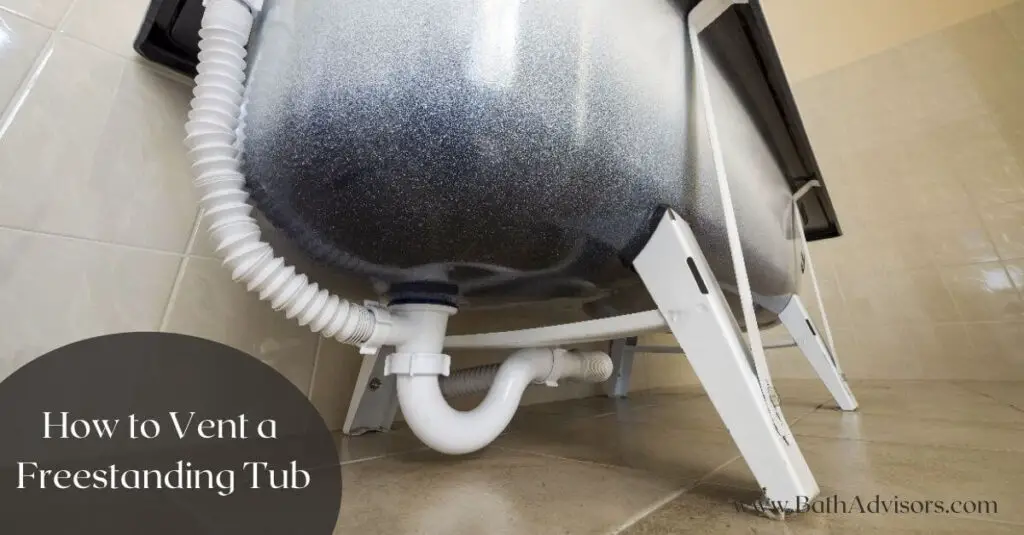
If you don’t already have a drainage system in place, get a plumber to have it fixed.
Prepare the spot where the base of the tub will be standing. Depending on whether your floor is wooden or concrete, you will need to create a channel for the draining and the plumbing train.
Step 3 – Level the Floor
Using a level, smoothen out the floor space. Ensure that it is leveled otherwise it will cost you more time, money, and manpower to correct the mistakes of installing a freestanding tub on an unlevel floor.
Step 4 – Place the Tub on the Floor
Take the blanket and spread it on the floor then place your new freestanding tub on it. You really want to be extra keen here. Inspect the bottom of the tub to check if the drain nut and drain hole are there. Also, confirm that the waste location aligns with the draining hole. You can take measurements just to be certain.
Step 5 – Prepare the Drain Hole
Before installing the tub, you will need to clean the drain hole to ensure there is no dirt or debris on it. You can use a damp cloth to clean off the dirt and dry it off with a dry cloth or leave it for a couple of minutes to dry out.
Step 6 – Attach the Drain Tailpiece
To install the freestanding bathtub drain, take the dry silicone and pour around the drain hole as well as inside it.
Then start by placing a plastic bushing on the tailpiece and attach it to the tub from the base. Finally, slide the nuts in and screw them into the drain hole. To tighten the seal, you can apply some lubrication. That’s basically how to install a freestanding bathtub drain. It’s pretty simple.
Step 7 – Install your Bathtub
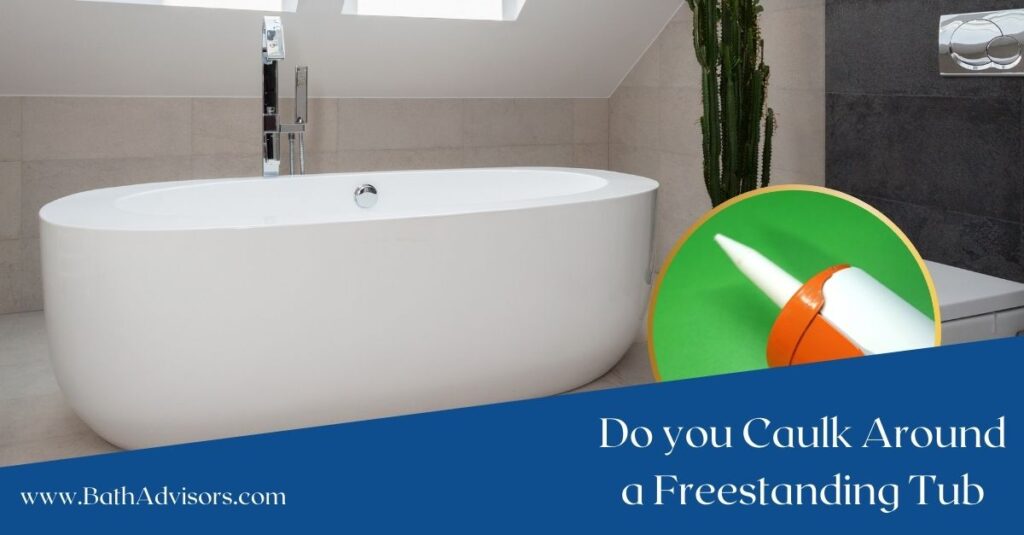
With everything in place, it’s time to gently position your tub. Apply a good amount of caulk everywhere the tub will come into contact with the floor. Clean off any excess caulk using a damp cloth once the caulk is dry. Reapply till certain that your tub is secure.
Step 8 – Clean the Floor
Clean out the mess on the floor. As well, clean your new freestanding tub following the manufacturer’s cleaning instructions. Your tub is now ready for you but you have to wait for 24 hours before you can use it.
How to Install a Freestanding Tub Faucet?

Before we delve into this part, it’s important that you know there are two types of faucets for freestanding tubs. Single-risers and dual-risers. Each is installed differently.
Single risers are totally freestanding and hence must be installed securely on the floor. Dual-risers are attached to either a wall or the tub drain so they have some sort of support.
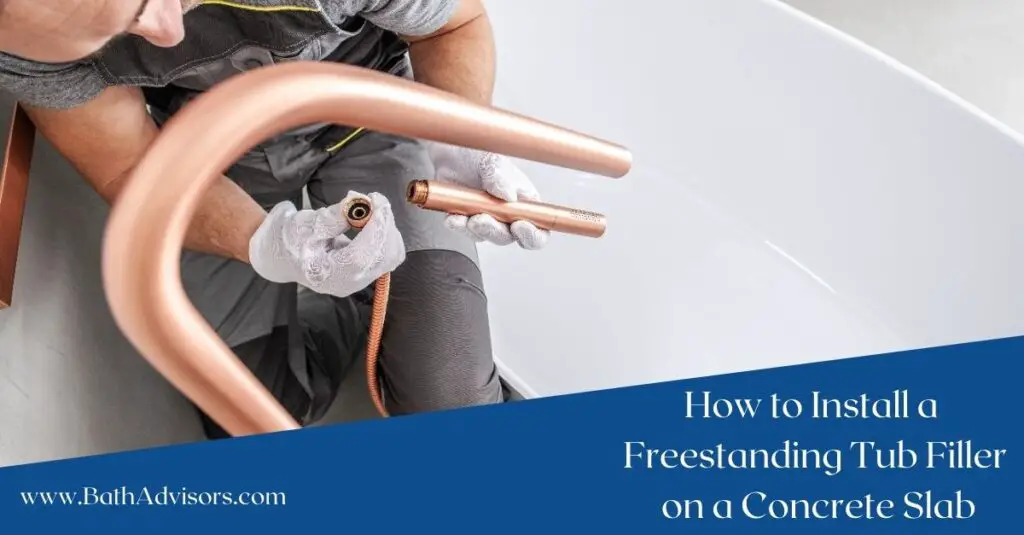
With the rough plumbing already done on the floor, let’s take you through how to install a freestanding tub filler.
1. Prepare the Floor
Start by turning off any water supply then check that the floor is level and clean before you start installing.
2. Install the Base of the Faucet
Make markings on the mounting holes and drill holes. Screw-in the base to the support and ensure it is tightly fastened.
3. Connect the Water Inlet
Take a piece of plywood and close the floor opening. Leave a 3-inch diameter hole open for the guard. Seal the hot and cold lines and connect the supply lines to the base of the faucet. Insert the plugs into the hole in the base and switch on the water supply. Leave the water running for a couple of hours as you check for any leakages. If there is no leakage, remove the flange and plug and attach the guard to the base.
4. Install the Faucet
Attach the mounting flange to the bottom of the riser and then fix it over the internal pipe. Then connect the base of the riser to the internal pipe and fasten the flange. Finally, attach both the hot and cold handles to the faucet as well as the hand shower if there is and tape the thread while tightening with a wrench. Do the same to the other end of the hose that connects to the faucet pipe.
Freestanding Bath Problems
Fitting a freestanding bathtub needs to be done with precision. If not correctly installed, freestanding tubs can be costly. In fact, if installed on a floor that is not level, you will have to replace it immediately to reduce further damage.
For the mere fact that freestanding tubs look and feel luxurious, they come at a cost. They are way more expensive than regular tubs because of how complex they are to build. Good thing is that they come in exquisite designs and styles that match up the costs.
Another downside to freestanding tubs is that they weigh a ton. They are so heavy that you would need a reinforced floor to install on which is an additional cost altogether.
Even though these standalone tubs can come with a small hand-held shower, most don’t have that addition, and mounting a shower on it makes it look unappealing. You would rather just have the two separate and use your tub for what it’s intended for – relaxation.
Another challenge is that freestanding tubs have limited options for accessing bathing items. However, you can always buy a rolling bath caddy or stool to put your candles, a glass of wine, shower gel among others.
Lastly, because of how tall they are, it can be challenging to give your kids or pets a bath. The height also makes it hard to clean in the inside of the tub.
FAQs
Q1: How much does it Cost to Install a Freestanding Tub?
The cost of installing a freestanding tub will vary greatly depending on a number of factors such as whether you are doing modifications, building, or renovating. According to Forbes, installing a new tub will typically cost you anywhere between $1000 and $5000. The tub itself will cost you from $200 all the way to $2500 depending on the style, design, and material you choose.
Q2: Which is the Best Freestanding Tub with Shower Curtain?
We would highly suggest the Riyidecor White Floral Damask fabric tub shower curtain. We love that it is wide enough (180*70 inches) to cover the entire tub. We also loved that it is heavy duty and comes with 32-pack shower hooks. It is also water repellant, mold-resistant, and dries pretty fast.
Q3: Are Freestanding Bathtubs Comfortable?
Freestanding tubs are luxuriously comfortable if you find the proper length, slope, and depth. The key thing to look at is the length as you don’t want to float away in the tub or strain your back as you lounge in the tub. Both ends of the tub have identical slope dimensions for great back support.
Check out these Bath Pillows for straight back tubs so that you can enjoy a comfortable bath in your bathtub.
Final Thoughts
If you’ve made it to this last section, then you certainly have learned how to install a freestanding bathtub. Remember to let your new tub rest for at least a day after the installation to check for leakages and other installation problems that may arise.
Remember to also follow the manufacturer’s instructions to the tee, especially on maintenance if you want your big investment to last you for years to come.