Usually made with materials like enamels, fiberglass, and acrylic, the bathtub’s surface proves itself to be a slippery one. And when submerged under a mix of soap or bath bombs and water, the surface becomes even slippery, increasing the chances of falling.
Thankfully, modern bathtubs come with a non-slip strip that lets you establish a strong grip while it prevents falling. However, on regular usage, the tread wears out, and that’s when you need to remove it and install a new one.
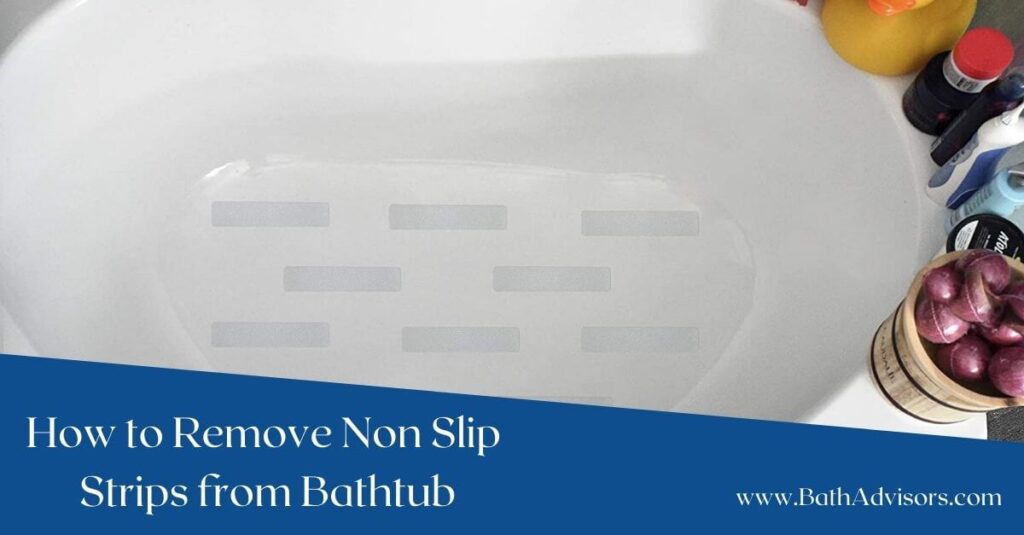
In this how to remove a non-slip strip from the bathtub guide, I’ve explained a detailed procedure to get rid of the worn-out strip and the adhesive residual.
Things You Will Need
These non-slip treads have high-quality adhesives, so you cannot simply peel them off. Here are a few things you’ll need to remove the strip as well as the adhesive:
- Cuticle stick
- Goo Gone or any adhesive remover
- Orange citrus spray
- Sharp-edged scraper
How to Remove Non-slip Strips from Bathtub: Step By Step
Step 1: Use a Cuticle Stick to get Off the Edges

The most challenging part of removing a non-slip strip is getting the edges off. Use a cuticle stick or any plastic hard-edged scraper to lift the edges from the surface.
Make sure to lift all three layers so that you can peel off the tread in one go. If the top layer comes off, leaving the other two behind, it could be very challenging to get them off the bathtub.
Step 2: Peel Off the Strip
After lifting the non-slip tread edges, try to peel them off in the direction of the center of the applique. If the strip layers begin to separate, stop there, and use the cuticle stick again to lift up the edges again.
Keep working with the stick or the plastic scraper until you are able to peel off most of the strip or the tread.
Note: Make sure the cuticle stick does not brush against the bathtub’s surface, as it may scratch it.
Step 3: Loosen the Bond of the Adhesive
If you are not able to peel off the bathtub applique, it may be due to the strong adhesive. Struggling to peel it off can lead to damaging the bathtub, and you have to avoid that at all costs.
Lift the edges and try to make the adhesive area as exposed as possible. Next use an adhesive washing solution, I prefer using Shout. Spray the solution carefully and let it sit for some time.
You can also use Spray n Wash to remove the adhesive quickly without leaving any stains on the bathtub.
Step 4: Remove the Non-slip Strip
After the strip has soaked in the solution for a few hours, it’s time to remove it. Use a plastic scraper to scrap the strip and peel it off with your hands. The strip may break into pieces, don’t worry, and keep peeling it off until you have all of it in your hands.
Step 5: Clear the Residual Adhesive
The most challenging part of removing the bathtub stickers is getting rid of the adhesive. Fortunately, there are some effective adhesive removers available in the market, such as the Goo Gone.
Spray Goo Gone or isopropyl alcohol over the residual adhesive, and wait for some time. Now take a cloth and clean the adhesive. The strong solution will dissolve the adhesive, so you won’t have a hard time removing it.
Rinse the bathtub with water, and it’s ready to install the new non-slip strip.
Tips for Easy Removal of Non-slip Stickers from Bathtub
Undoubtedly, removing a non-slip decal is challenging, but these tips will make the task easier and hassle-free.

1. Use a Hair Dryer to Warm Up the Glue
It’s difficult to remove the glue when it’s hard, but you can easily scrape it off when it’s moistened. Use a hair dryer and rotate it on full heat, setting over the glue before you spray the Goo Gone or isopropyl alcohol.
2. Be Gentle
Always be gentle when removing the non-slip bathtub stickers, as being too hard can result in damaging the bathtub’s surface.
3. Wear Safety Gear
You don’t need a lot of safety gear when removing a bathtub decal. However, it would be great to wear protective glasses and gloves to avoid any allergies and irritations. Also, wearing gloves will help you handle the cuticle stick easily to lift the edges.
4. Use Liquid Detergent
Peeling the tread off the porcelain and fiberglass tubs can be hard because of the surface. Use liquid detergent around the edges to make the non-slip decal wet, and then lift the edges using a plastic scraper.
Also, liquid detergent hinders the adhesive’s potency, making it easier to remove the sticker.
FAQs
Q1: Is Goo Gone Safe for Fiberglass Tubs?
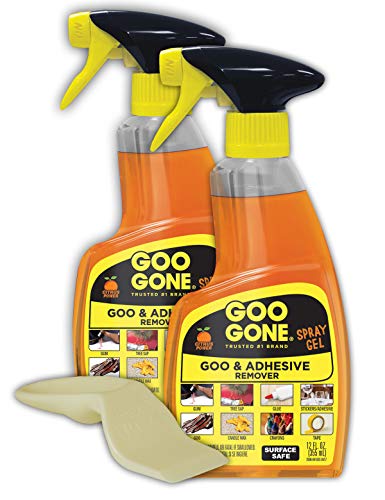
A1: Yes, Goo Gone is safe for any type of bathtub, including fiberglass, ceramic, acrylic, and more. Just make sure to use little quantities when removing adhesive. Lastly, there are some common mistakes that you should avoid when using Goo Gone.
Q2: How long should I wait to Install a New Decal after Removing the Old One?
A2: Let the tub dry properly before you install the new decal. It would be great to wait around 3-4 hours so the surface gets ready to hold the adhesive.
Q3: Can I use Isopropyl Alcohol to Remove Adhesive Instead of Goo Gone?

A3: Yes, isopropyl alcohol is also an effective glue-removing solution. However, you may have to spray it in large quantities as compared to Goo Gone. Also, the wait time is more when using alcohol.
Q4: How to Remove Stubborn Adhesive Chunks from the Tub?
A4: Heat the stubborn adhesive chunks and spray Goo Gone over the chunks. Let it sit for 3-4 hours, and you’ll be able to remove them easily.
Final Thoughts
Now you know how to remove non-slip strips from the bathtub, it’s time to do the practical. Make sure to follow the steps in the order they are explained and have all the items handy, so you don’t have to run between the kitchen and the bathroom.
Lastly, wearing safety gear, including gloves and glasses, is indispensable to ensure your skin doesn’t get exposed to the potent chemicals present in the adhesive removers.
Rinse the bathtub thoroughly to clear the debris, and you are all set to install the new best anti-slip shower sticker after the tub dries completely.


