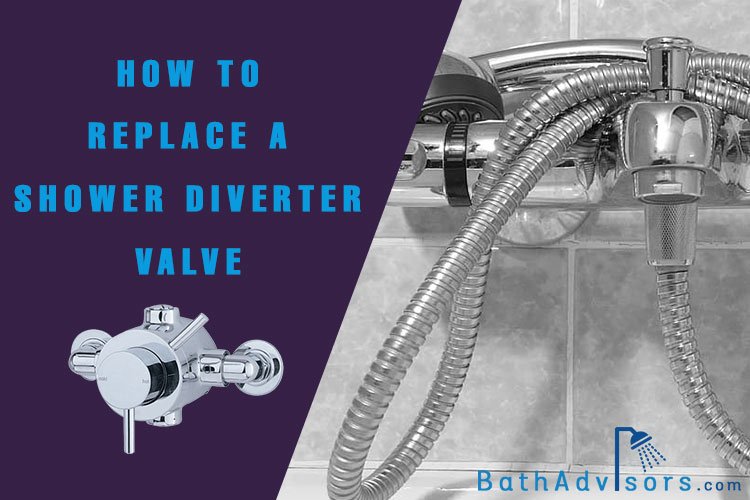
If you are here because you are wondering about how to replace a shower diverter valve, then you are in the right place.
Go through each and every section so that you understand more about shower diverter valves and learn how to replace them if you have no warranty and have no money either to spend on a plumber.
What are Shower Diverter Valves?
Shower diverter valves are valves that direct the flow of water to the showerhead from the bathtub faucet. This allows you to use your shower head in your bathtub eliminating the need for installing a new water feed for a showerhead. Most modern houses may not have the shower-tub combo but “traditional houses” do have. It saves on space as well as costs.
Shower diverter valves come in different designs. They can be a pin that is pulled upward, can be a handle or a button on the faucet that is pushed or pulled. Regardless of what form it comes in, they all function in the same way and serve the same purpose. By pulling the handle or pushing the button, the water flow is diverted in a different direction.
Types of Shower Diverter Valves
There are three known types of shower diverter valves, single, double and three-valve diverters. Let me expound on each type.
1. Single Valve Diverter

A single valve diverter is often found in tubs where there is a separate faucet handle for hot and cold. The valve is placed in the middle of the two handles. To use the hot and cold on the shower head you turn the diverter valve 180 degrees clockwise and consequently 180 degrees anti-clockwise when you want to use the hot and cold in the tub.
2. Two Valve Diverter
A two-valve shower diverter, also known as the dual valve diverter, features two valves and is placed in the middle of a two-tap faucet. This diverter valve can have a single dial to allow you to adjust the water to the desired temperature before being diverted to either the tub or showerhead.
3. Three Valve Diverter

A three-valve shower diverter is most ideal for 2-tap faucets that have both the hot and the cold taps on the faucet. You will have to turn both the hot and cold taps on so that the water is mixed to your desired temperature before the water is diverted to the showerhead or the bathtub.
Common Shower Diverter Problems
A shower diverter valve may seem like such a simple part but when it ceases to function properly, it can become such an inconvenience. And it’s easy to tell when it’s not working properly. When water is not being diverted as it should even though the diverter is engaged then there is no doubt it needs some fixing. Some of these shower diverter problems can be addressed at home while some may need you to get professional help.
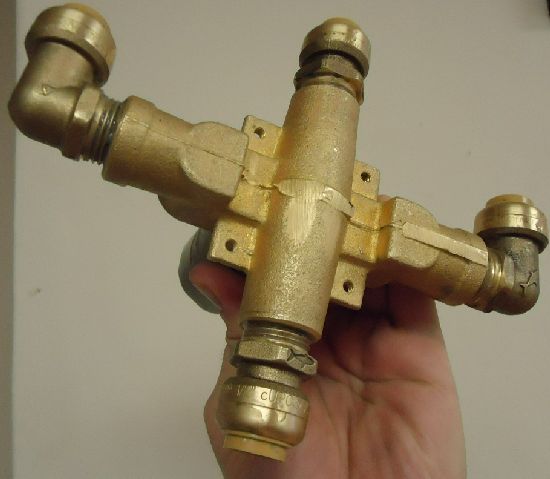
A shower diverter valve malfunction could be due to an incomplete seal around the stopper which then blocks the water flowing out of the faucet. There are many reasons for an incomplete seal, among them, being wear and tear due to overtime use, misuse and mineral build-up especially if the water used is hard water.
A malfunctioned diverter valve can also cause temperature variations on the hot and cold taps. This could be as a result of dirt and build-up of rust or faulty ball bearings.
Another common problem with shower diverter valves is leakage which can be so annoying and very expensive if not fixed immediately. You can end up paying almost twice your normal water bill.
Just like everything else that has bowed down to wear and tear. The solution here is pretty simple, Replace.
How to Replace a Shower Diverter Valve?
Here is a step by step guide on how to replace a shower diverter valve even if you have never done it before. The steps are pretty simple and straight forward. You can also watch this video for a better understanding.
Things Required
- Cotton or an absorbent cloth
- Screwdrivers/ gear puller
- A pair of pliers
- Metal valve clip
- New shower valve
- Caulk
- Plumber’s wrench
Steps for Replacing a Shower Diverter Valve
Step 1 – Unscrew the Screws
Using a screwdriver, slowly unscrew the diverter knob. You can also use a gear puller to pull it off if it is heavily corroded or too worn out. If it proves difficult because of the corrosion, use a hammer to loosen it. Remember to be gentle so as not to cause any damage or hurt yourself.
Once the knob is off, take off the metal sleeve using a plumber’s wrench.
Step 2 – Clean the Supply Pipe
You will see a lot of dirt on and around the supply pipe. Clean it all off and if possible sand the pipe to smoothen it so that the next step is easier.
Step 3 – Remove the existing Shower Diverter
To remove the existing shower diverter valve you will first need to carefully inspect how it is attached. Check all around it and then using a plumber’s wrench, lift it off.
Step 4 – Install the new Shower Diverter

Assuming you already bought your new diverter, go ahead and place it exactly where the old one was using either a plumber’s wrench or a screwdriver.
If you have not bought a new unit because you are not sure of the type and make, take the one you just removed with you to the hardware or the home improvement section at your local store to show them what exactly you want. They should give you the exact or alternative make and type. Come back home and do as instructed above.
Step 5 – Replace the Diverter Knob
Once done with step 4, now place the new diverter knob. Do so by screwing it in where the old one was. You can also use the plumber’s wrench to do this.
Step 6 – Clean up
Once you have replaced your new valve, make sure that the new diverter is working by testing it out. If everything is working as it should and you have confirmed that there is no leakage then the next step is to clean up. Start by cleaning the caulk and the tile then clean the whole working area as well.
Now, you have your valve replaced without paying a dime. How cool is that, I bet you are proud of yourself. You have saved yourself a few bucks and gotten confident in doing such simple replacements by yourself.
How to Replace a 3-valve or 2-valve Shower Diverter Valve?

For a shower with either the 3-valve or the 2-valve diverter, you will first need to remove the handle that is controlling the valve. See the below steps on how to do it.
Step 1 – Remove the plastic cover and then unscrew the handle
Step 2 – Remove the sleeve
Step 3 – Remove the diverter valve. You can use the socket wrench to do this.
Step 4 – Replace the valve
Step 5 – Return everything as was by reversing the process
Step 6 – Clean up and test if everything is working smoothly.
Final Thoughts
I hope you have found my guide on how to replace a shower diverter valve very informative and most importantly easy to follow through because that was my intention. You see, most of these household repairs are doable with a proper guide. You may not do it to save those few bucks, but the pride that comes from maintaining your own home is immense. Now go enjoy your shower.


