Delta Centerset bathroom faucets are absolutely gorgeous, and every bathroom deserves this beautiful fixture. Whether you are looking to upgrade your bathroom’s look or making a new one, installing the faucet is a necessary process.
While installing any regular bathroom faucet is easy, installing a centerset can be quite challenging since it is a single unit with two handles. Here in this article, you will find a step-by-step process to install the Delta Centerset faucet on your bathroom’s basin or vanity.

Furthermore, the article even wraps around some helpful tips that will make the entire installation process hassle-free and easy.
How do Centerset Bathroom Faucets Work?
Centerset bathroom faucets aren’t new, and homeowners have been using them for years due to the style they bring in and, of course, the exquisiteness. Before you go ahead and start installing the centerset faucet, it is important to understand how it works.

These faucets come in a single unit, with two handles attached around the spout. These handles can be used to adjust the temperature of the water and the pressure. The base plate is common, making the centerset faucets an exemplary choice for drop-in and pedestal sinks.
There are two water supply lines, one attached to each handle. The functionality of the spout is similar to any regular faucet, but it may swivel depending on the model you choose.
How to Install Delta Centerset Bathroom Faucet – Step by Step
To install a centerset bathroom faucet, you need a basin with the faucet hole less than or equal to 6-inches apart from the center.
Also, the sink should have three holes to fit in the faucet properly. If you have the correct sink or vanity that suffices these requirements, you can go ahead with the below-listed installation process.
Equipment/Tools You Need
- A centerset bathroom faucet by Delta
- Philips-head screwdriver
- Adjustable wrenches
- A basin wrench
- Water supply lines
- Rubbing alcohol and plumber’s putty
- Cleaning towels
Step 1: Remove the Old Faucet (Skip this step if you have a new basin)
The first step is removing the old faucet. Spray some WD-40 around the base to dissolve the putty or corrosion holding the faucet in place. Now unscrew the nut from under the basin using an adjustable wrench, and then remove the water supply lines.
Once done, you can remove the main faucet body and place it securely in a place. Clean the basin’s surrounds using some soft towels, and then you can go ahead with installing the Delta centerset bathroom faucet.
Step 2: Insert the Faucet into the Sink Top
Begin with placing the mounting brackets on the sink’s top. You will find the bracket inside the faucet’s box. Align it with the three holes of the sink, and fasten it with the retaining nuts.
Now, place the plastic gasket over the bracket, and align it properly. Put the Delta centerset bathroom faucet on the gasket, and ensure it fits properly. The supply lines connected to the faucet should pass through the sink’s holes.
Step 3: Fasten the Faucet Nuts
Align the faucet in a way so that the spout faces the center. Now tighten the nuts using an adjustable wrench to fasten the faucet in place. Do not tighten the nuts fully, as you may have to realign the faucet before completing the final step of this installation process.
Step 4: Connect the Water Supply Lines
Connect the drain lines with the respective supply ports. The hot one is marked as red, whereas the blue supply line is for cold water. There’s a rubber washer connected to each supply line’s connector.
Make sure the connection is leak-proof, and the metal cover of the supply line fastens over the water inlets. Carefully use a wrench to fasten the connections, make sure not to over tighten it, as it may also break the connectors.
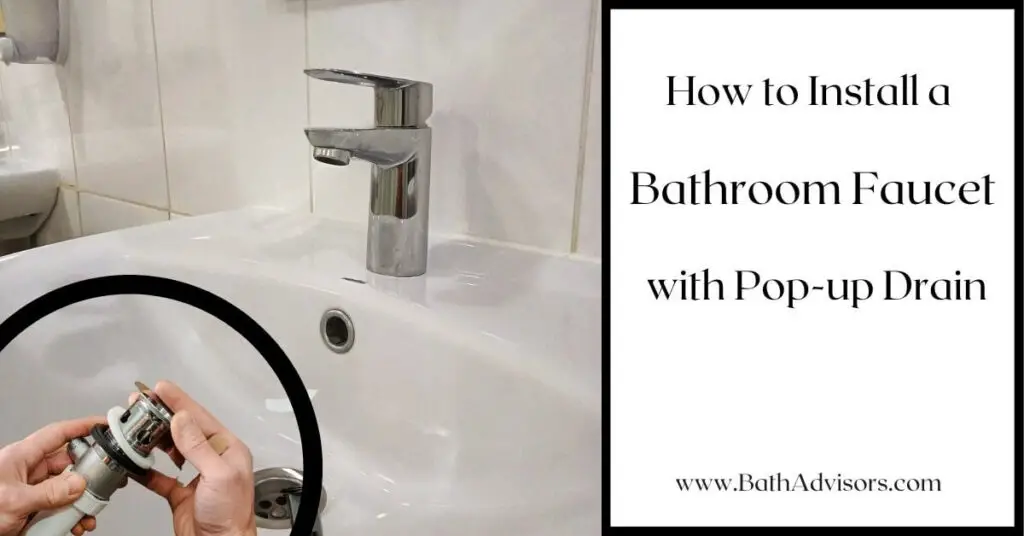
Step 5: Install the Pop-up Ball Pivot Rod and the Drain Lift Rod
If you want to use a pop-up drain with the sink, you need to install a pop-up ball pivot rod with the Delta bathroom faucet. This rod prevents the sink from overflowing and cuts down the water supply. Insert the rod into the small hole of the pop-up drain piece.
Now install the drain lift rod with the faucet, as this rod will control the pivot rod. Read the instruction manual to understand how to install the rod with the faucet and then connect it with the pop-up ball pivot rod using a clevis bolt.
Step 6: Fasten the Faucet Nuts and Secure It with the Basin
After checking all the connections, including the water supply lines, you can tighten the faucet nuts. Realign the faucet and bring the spout to the center. Now get down the sink, and tighten the nuts using a sink wrench.
Tighten the nuts properly so that the faucet does not move and stays in place. Not a lot of people apply plumber’s putty around the faucet’s base. But I recommend using it, as some sinks have uneven holes.
Apply little amounts of plumbing putty using a putty knife, and make sure it gets inside those small crevices.
Step 7: Clean Up and Test the Installation

The last step is cleaning the sink and faucet. Before that, test out the installation by turning on the faucet handles. Turn on both handles, and check the pressure. If everything looks fine, you can go ahead with the clean-up.
Sometimes the aerator gets choked due to the debris, so you can clean it beforehand and then test out the pressure. Clean the entire faucet using a soft cloth, and you are good to go.
Tips for Installing Delta Centerset Bathroom Faucet
These tips helped me a lot when I was installing the Delta Centerset bathroom faucet, and I want you to experience the same. So read on the following tips, and implement them while installing the faucet.
1. Prep Outside the Vanity
When it comes to installing any type of bathroom faucet, you should prepare it outside the sink or vanity. Dropping a wrench on the sink can lead to a blunder and may cost you hundreds of dollars. Instead, use a rubber floor mat and keep all the tools on it to ensure you don’t end up damaging anything.
2. Don’t Overtighten
There are several connections to be tightened when installing a centerset faucet. In addition, you need to be sure that you do not overtighten the nuts, as removing the faucet after some time will be a daunting task.
Leaving the nuts untightened is also not a good idea. Instead, you should give the nuts ½, and ¼ turns with the wrench. When the nut stops rotating, do not force it on the faucet.
3. Use Good Quality Plumber’s Putty
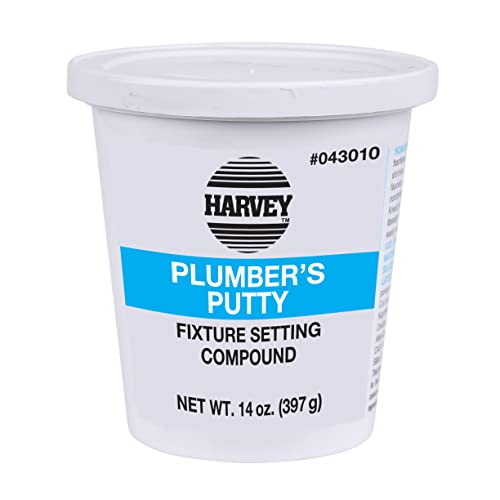
Always use good-quality putty that dries quickly and stays in its place for longer. Moreover, you need to mix an adequate amount of water to prevent the putty’s consistency from getting watery. Wait for around 3-4 hours for the putty to dry, and then you can use the faucet.
4. Don’t Hesitate to Call the Plumber
You might need a plumber if you have an existing faucet installed on the basin or vanity. Furthermore, if you are not able to get under the sink and tighten the nuts, professionals can help you. So don’t hesitate and call a reliable plumber to install the Delta Centerset bathroom faucet properly.
FAQs
Q1: Can you Replace a Centerset Faucet with a Widespread Faucet?
No, you cannot replace a centerset faucet with a widespread one because of the difference in anatomy. A centerset faucet has three holes, and it only fits sinks and vanities designed for it. Therefore, if your sink is compatible with a widespread faucet, you cannot put a centerset faucet on it.
Q2: Is it better to use a Plumber’s Putty or Silicone when Installing a Delta Centerset Bathroom Faucet?

Silicone is a better option since it is transparent and is not visible at all. Also, the silicone creates a water-tight seal, and scraping it off is easy. Plumber’s putty, on the other hand, is an affordable solution and easier to apply as well.
If you have a white basin, I’d say use a plumber’s putty. On the other hand, if you have a beautiful vanity, using silicone will be a good idea.
Q3: How do you Remove a Delta Faucet without Screws?
Removing a faucet without screws is easy. All you need to do is remove the cap from the handle, and then you will be able to access the screws.
Here’s a detailed article on how to remove a bathroom faucet handle without screws that will help you do it easily.
Q4: What size Allen Wrench do you need for a Delta Centerset Bathroom Faucet?
Any regular Allen wrench will do the job since these are adjustable, and you can quickly adjust the claw to hold the nut firmly.
Q5: Is a Centerset Faucet a Single Hole?
Centerset faucets are designed to fit single-hole as well as three-hole basins. If you have a single-hole basin, choose a Delta centerset faucet designed for it, and vice versa. Usually, most centerset faucets are designed for three-hole basins and vanities.
Final Thoughts
I hope you have successfully installed the Delta centerset bathroom faucet on the sink without any problems. Always ensure you tighten the connections properly so that there is no scope for leakage. Having the instruction manual handy is very helpful since some new models by Delta can have extra parts.
Lastly, wear protective gear such as safety gloves and goggles to prevent any injuries and mishaps during the installation.