Removing the aerator is a common practice when it comes to maintaining the faucet. Moreover, you have to remove the aerator to get rid of low water pressure by cleaning the sediments. So, it’s important for all Moen faucet owners to know how to remove the aerator from Moen bathroom faucet without any tools.
Not using tools like a wrench help prolong the lifespan of the finish, and you can avoid causing any scratches on the faucet. Usually, Moen bathroom faucets have a simple twist-and-turn aerator, but some faucets like the fancy models have a different one.
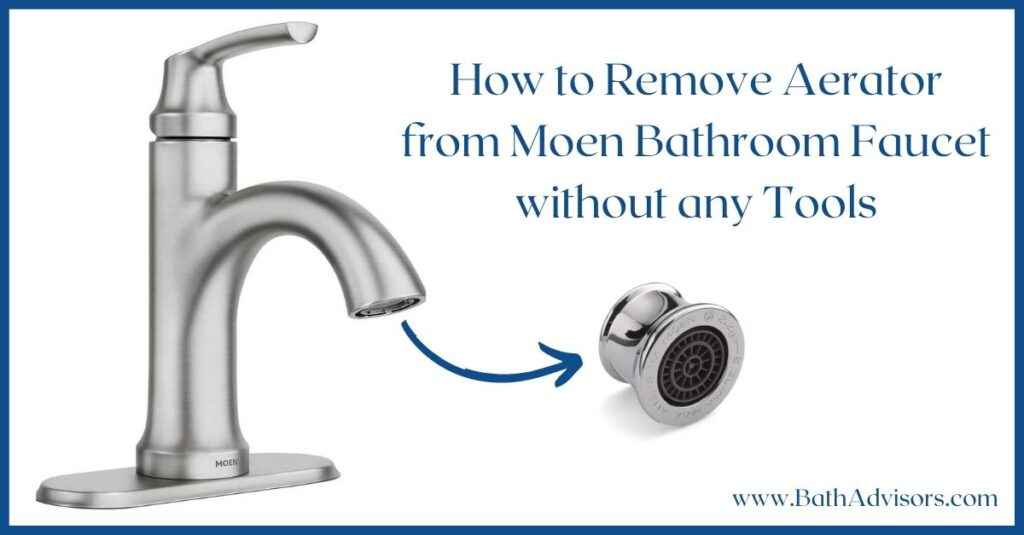
This article is all about removing the aerator from the bathroom faucet without using any tool. Moreover, you can know about the different types of faucet aerators and a handful of tips that’ll help you remove them easily.
Important Things You Should Know about Moen Bathroom Faucet Aerators
Moen offers a wide variety of bathroom faucets. The style ranges from simple faucets to ones with stylish and intricate designs. Below I’ve listed the types of aerators as well as the common sizes you will find with Moen faucets.
Male and Female Threads
Faucet aerators are usually available in one type, but the threads are different. Male aerators have threads on the outside, whereas female aerators have threads on the inside.
Male aerators are compatible with faucets that have female spouts, i.e., threads on the inside, and the same goes for female aerators.
Sizes
There are typically two aerator sizes available in Moen faucets, including regular (15/16″ Male or 55/64″ Female). Also, you will find junior (13/16″ M or 3/4″ F) aerators.
While the size of the aerator does not matter for removing it, if you are looking to replace the aerator, you should know its size. Place a coin against the aerator, and it’s the easiest way to measure the size.
Style
Moen offers three types of aerator styles that include aerated, spray, and laminar flow. While the exterior of all aerators looks the same, there is a change in the inner mechanism which controls the stream of water.
Step by Step Instructions to Remove Aerator from Moen Bathroom Faucet without any Tools
A wrench is usually found in every household, but I don’t recommend using it for removing the aerator since it can damage the faucet. Just follow the below-listed steps, and you can easily remove the Moen Faucet aerator without a wrench.
Things You’ll Need
There are only a few things you need to remove the aerator from the Moen bathroom faucet, and these things are available in your house. Get them handy, and then you can follow the next steps.
Step 1: Try Removing by Hand
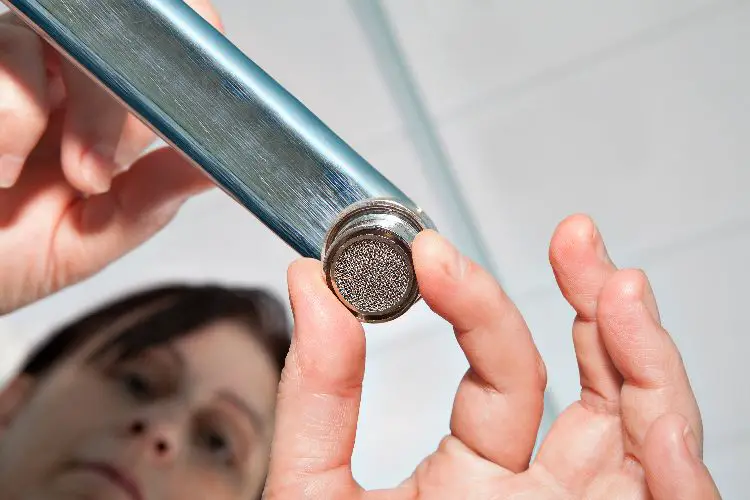
The easiest way to remove the aerator is removing it by hand. Hold it with a dry cloth, and rotate it anticlockwise. Apply some pressure if required, but don’t be too harsh on the aerator as it may damage the threads.
If you are able to remove the faucet by hand, clean it using a cloth, and place it on a flat surface for cleaning it. Assemble it back once done, or you can even install a new aerator.
Step 2: Heat the Aerator with a Hairdryer
If you have an old faucet, you might not be able to remove it by hand. The reason is an accumulation of grime and soap scum, which jams the threads, and prevents you from rotating the aerator.
What you need to do is heat the aerator using a hairdryer. Place the dryer at least 10 cm away from the aerator so as to prevent the faucet’s finish from getting damaged.
If you have a plastic faucet, you should heat the aerator very carefully since too much heat can deform the aerator’s shape.
Now try to remove the faucet using a dry cloth. You may see some sticky residue around it, which is caused due to heat.
Step 3: Apply Penetrating Oil
If the heat also fails and you cannot remove the aerator from the faucet, a penetrating lubricant may help. I have used WD-40 because it is an amazing lubricant for metal faucets and helps clear the blockages caused due to corrosion and stubborn soap scum.
Apply it around the aerator so that the oil penetrates inside. You can even use a small stiff brush to apply it. Leave the lubricant for a few minutes, and follow the next step.
Step 4: Remove the Aerator
Now remove the aerator by twisting it anti-clockwise. Wear protective gloves to keep WD-40 or the penetrating oil away. Also, you’ll get a better grip with rubber gloves. After removing the aerator from a Moen faucet, clean the excessive oil, and you are good to go.
Tips to Remove Aerator from Moen Bathroom Faucet
Removing the aerator may seem like an easy task, but there are some complexities involved. Aerators are usually very durable but cannot withstand severe actions as well. Follow these tips to avoid any issues, and remove the aerator easily.
1. Read the Manual
Not every aerator is designed to rotate anticlockwise, some older faucet models may have aerators that rotate clockwise. So, you should read the instruction manual. Twisting the aerator in the wrong direction can damage the threads.
2. Do Not Hammer It
There are some DIY videos that show hammering helps remove the faucet aerator that is stuck. Yes, it works, but only if you know how much force is required to hammer it.
Hammering hard can damage the faucet, and you may end up replacing the entire fixture. So, it is better to avoid hammering the aerator when there are other ways to remove it.
3. Always Use a Cloth for Removing the Aerator
Always use a dry cloth to remove and reinstall the aerator. You won’t be able to remove the aerator using bare hands, as the aerator body may slip. Using a wrench is not an option here, so hold it with a cloth and remove the aerator carefully.
FAQs
Q1: Do all Moen Faucets have Removable Aerators?
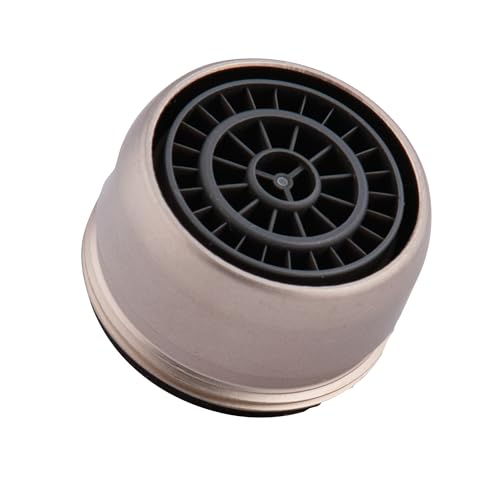
Yes, all Moen faucets have removable aerators. You can quickly remove the aerators without any tools. The purpose of an aerator is to control the stream of water while reducing its consumption.
Whether you have a standard faucet or a pull-down one, you can remove its aerator.
Q2: How do you Remove a Stuck Aerator from a Moen Bathroom Faucet?
To remove a stuck aerator from a Moen bathroom faucet, you need to heat it or apply some penetrating oil. Always be gentle on a stuck aerator, as it may damage the threads.
Q3: How to Remove a Leaky Moen Bathroom Faucet Aerator?
To remove a leaky aerator, simply hold it using a cloth and twist it in the direction mentioned in the user manual. Don’t reassemble the leaky aerator back, and the only solution to prevent leaks is to install a new one.
Q4: How to Remove the Moen Faucet Aerator without Threads?
There are some faucet models that have aerators without threads. To remove the aerator, you need a mirror and an L-key or the Moen concealed aerator removal tool that you got with the faucet. Place the mirror in the sink so that you can plug the L-Key in place.
Rotate the key, and you can easily remove the aerator.
Q5: Does Removing the Aerator Damage the Moen Faucet?
Removing the aerator will not damage the Moen faucet as long as you are doing it the right way. Never use any tools such as a hammer, screwdriver, or wrench to remove the aerator. Also, don’t be too hard or pull the aerator rigorously.
Final Thoughts
Now removing an aerator from the Moen bathroom faucet without tools is no more a question for you. No matter the type of Moen faucet, you can easily remove the aerator to clean and get rid of leaks or poor water flow.
One thing to keep in mind is that while reassembling the aerator, make sure to balance it properly, or else you may experience some leaks. Make sure to tighten the aerator into the faucet threads, and then you can use the faucet.

